> For the complete documentation index, see [llms.txt](https://docs.itconductor.com/llms.txt). Markdown versions of documentation pages are available by appending `.md` to page URLs; this page is available as [Markdown](https://docs.itconductor.com/user-guide/setup/gateway-setup/windows-x64.md).
# IT-Conductor Gateway Setup on Windows
The IT-Conductor Gateway enables communication between the customer's site network and the IT-Conductor cloud platform. It must be connected successfully before any private customer systems can be monitored by IT-Conductor.
### Installation Instructions
1. In IT-Conductor, navigate to **Support → Downloads →** [**Gateway Downloads**](https://service.itconductor.com/objectSavedSearch?OBJECT_Id=55792548)**.**

2. Download **itcgtwx64.net.45.msi.**
{% hint style="info" %}
**Note:** This requires Windows Server 2008 R2 and later with .NET 4.5 or later.
{% endhint %}
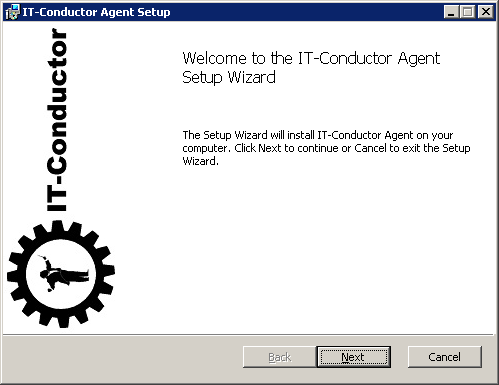
3. Run the downloaded **itcgtwx64.net.45.msi** file and click **Next**.
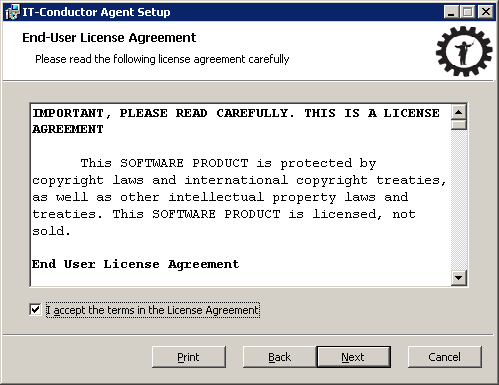
4. Accept the End User License Agreement and click **Next**.
5. Choose the setup type that best suits your needs.
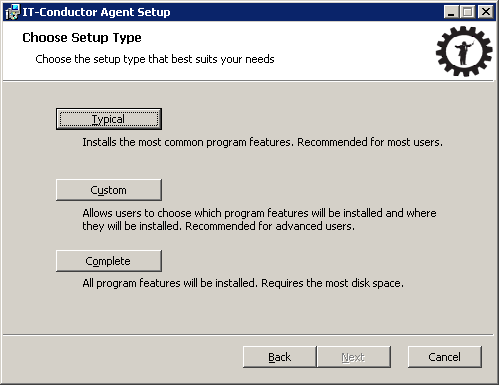
{% hint style="info" %}
**Note:** You can only select the installation folder if "Custom" is chosen.
{% endhint %}
6. When the installation is complete, tick the **"Launch Agent Configuration when Setup exits"** checkbox and click **Finish.**
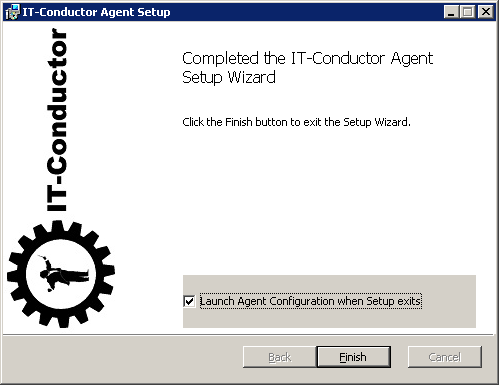
7. The Gateway Configuration window will open. You can also start it at any time from Program Menu under "IT-Conductor\Agent\\".
8. In the **Connection** tab, fill in the following fields:
* **Account ID** - This is the Service Account ID.
* **API Key** - The API Key for the Service Account will be generated when the Service Account is created.
To obtain the Service Account ID and API Key in IT-Conductor, navigate to **Management → Security → Service Accounts**.
Figure 6: IT-Conductor Service Accounts
Then, select the account to display the configuration details, as shown in Figure 7.
Figure 7: IT-Conductor Service Account Properties
* **Agent ID** - This is the ID for one of the Gateways created by your administrator earlier.
To obtain the Gateway ID in IT-Conductor, navigate to **Management → Resources → Gateways**.

9. Click **Test** to verify the configuration.

10. Switch to the **Service** tab and fill in the following fields:
* **Java Home** - Choose the folder containing "Java 8x64 Runtime Environment" or click **Install/Update** to download the latest JRE from the IT-Conductor platform to the agent folder and set Java Home accordingly.

We recommend using the latest JRE supported by IT-Conductor by using the **Install** button.
{% hint style="info" %}
**Note:**
* For 1st-time installations, the **Install** button will appear. Else, the **Update** button will show.
* Clicking **Install** will download the JRE from Oracle, so it may take a few minutes (depending on Internet connection speed).
* It is normal to see the status "IT-Conductor (Not Responding)" while this download and installation occurs.
{% endhint %}
Once the Installation of JRE is successful, the Java Home will be automatically updated.

* **Java Heap Size** - if needed, increase the Java maximum heap size. 500m is the minimum but at least 1000m is recommended.
11. Click **Update Gateway** to download the latest version of the Gateway.
12. When all is completed, click **Save** and start the Gateway service.
13. Close the configuration window.
### Firewall Configuration (Optional)
If the machine you are installing the Gateway has a Windows Firewall turned on and it is configured to block all outgoing connections by default, you will need to add an exception to allow the IT-Conductor Gateway to connect to the IT-Conductor Cloud Service:
1. Open Control Panel Windows Firewall configuration.
2. Click **Allow an app or feature through Windows Firewall**.
3. Click **Allow another app.**
4. Next to the **Path** field, click **Browse** and select **c:\Program Files\IT-Conductor\Agent\bin\ITCAgent.exe**.
5. Click **Network Types** to select the networks.
6. Click **Add**. Then click **OK** to complete the configuration.
---
# Agent Instructions
This documentation is published with GitBook. GitBook is the documentation platform designed so that both humans and AI agents can read, navigate, and reason over technical content effectively. Learn more at gitbook.com.
## Querying This Documentation
If you need additional information that is not directly available in this page, you can query the documentation dynamically by asking a question.
Perform an HTTP GET request on the current page URL with the `ask` query parameter, and the optional `goal` query parameter:
```
GET https://docs.itconductor.com/user-guide/setup/gateway-setup/windows-x64.md?ask=&goal=
```
`ask` is the immediate question: it should be specific, self-contained, and written in natural language.
`goal` is optional and describes the broader end goal you are ultimately trying to accomplish on behalf of the user. GitBook uses it to tailor the answer towards what is most useful for that goal.
The response will contain a direct answer to the question and relevant excerpts and sources from the documentation.
Use this mechanism when the answer is not explicitly present in the current page, you need clarification or additional context, or you want to retrieve related documentation sections.